I attempted to find and photograph some butterflies in the quest for a new photographic challenge; one that didn’t involve getting wet or staying up until the stars come out!
Common sense told me that if I found areas of wildflowers, I was likely to encounter some insect action. I made for an area where I had previously seen flowers growing around the edge of a field.
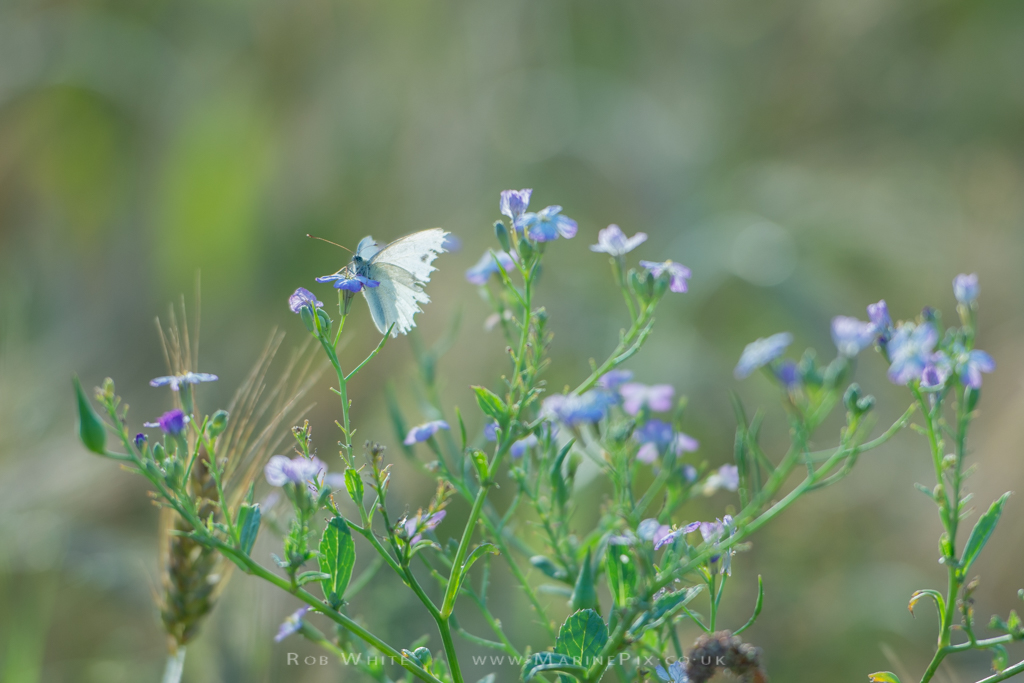
It was late afternoon when I got there. As I approached the field, I saw a couple of white butterflies, flitting from flower to flower. Their flight-paths seemed very erratic and inefficient but they still covered huge distances in a matter of seconds! I needed to watch constantly to spot where they landed.
On this first encounter, I learned several things.
- Looking for butterflies while they’re still active is hard work
- You need to blur the background of your photo to make the butterfly stand out
- Butterflies are sensitive creatures and you need to sneak up on them
- If you stand between a butterfly and the sun, it’ll fly away
- Working at the edge of a field is asking for trouble as the butterflies will tend to be out of range.
- A telephoto lens doesn’t have the close range focus necessary to get a decent shot.
I came back after that first trip with very few shots and even fewer that were in focus. By the time I’d got to the insect and lined up for the shot, my subject had had it’s fill of nectar and was off to the next flower… I had no time to compose my shot or to steady myself properly.
Lens Choice
The next attempt I made, I decided to use my Sigma 150mm macro lens along with some extension tubes. I’d not had chance to use them and this seemed like the obvious opportunity. Extension tubes are simple, glass-less spacers which go between camera and lens allowing your lens to focus on closer subjects. Getting closer, I could make the subject larger in the frame and create a more blurred background.
In hindsight, adding the complexity of the extension tubes was a mistake as my focus was off on each shot. A mistake I only discovered when back at the computer. I suspect I’d chosen the wrong combination of lens and extension tube but I didn’t know until it was too late! Using the macro lens on it’s own was the best option and that’s what I did on my next outing.
The long focal length (150mm) of the lens meant that I could stay far enough away from the creature to stop it being scared off but I could blur the background sufficiently to make the butterfly stand out.
Timing it right.
Perhaps equally importantly, I chose to start my next quest in the very early morning….
I arrived at my chosen site (Mill Hill in Shoreham-by-Sea) at around 6am. There was no wind to speak of and a bit of dew on the ground and although it was light, the sun had yet to make a proper impact on the day. Until the dog walkers arrived, I largely had the place to myself and it was a very peaceful spot to spend a morning!
It took a while to find my first creature because they weren’t moving but once I’d seen a couple, I started to spot them often.

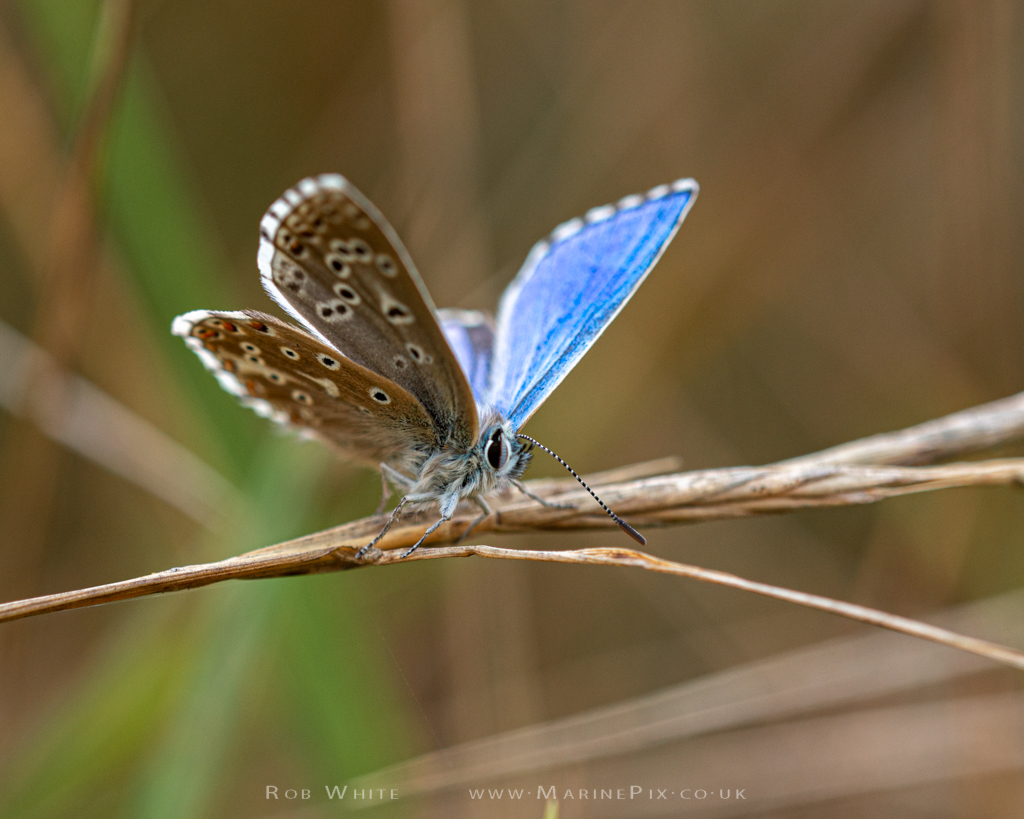
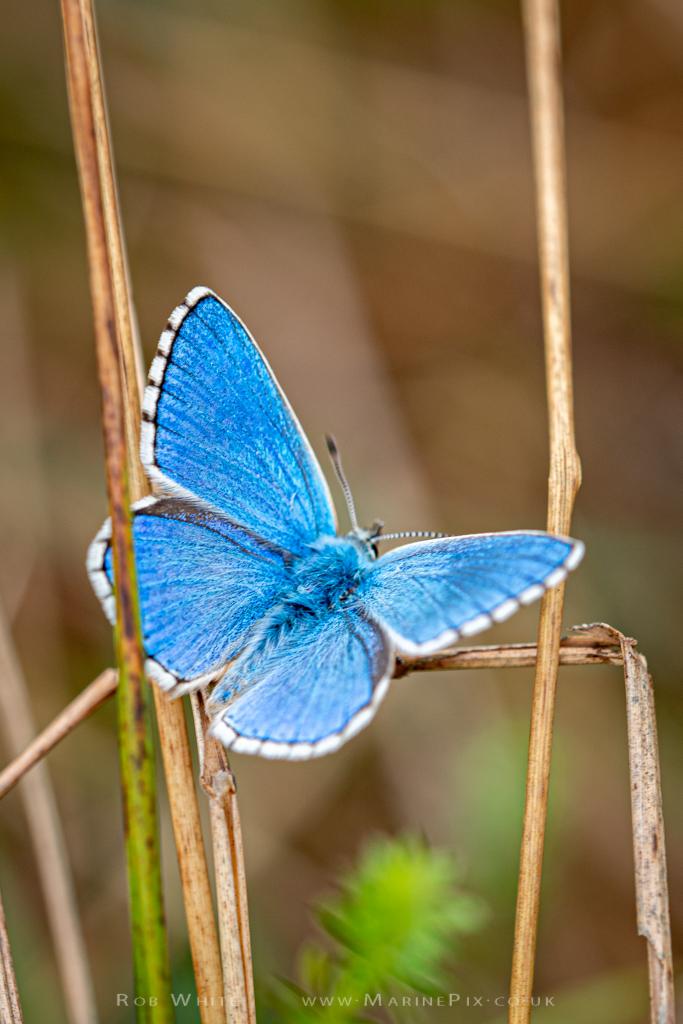
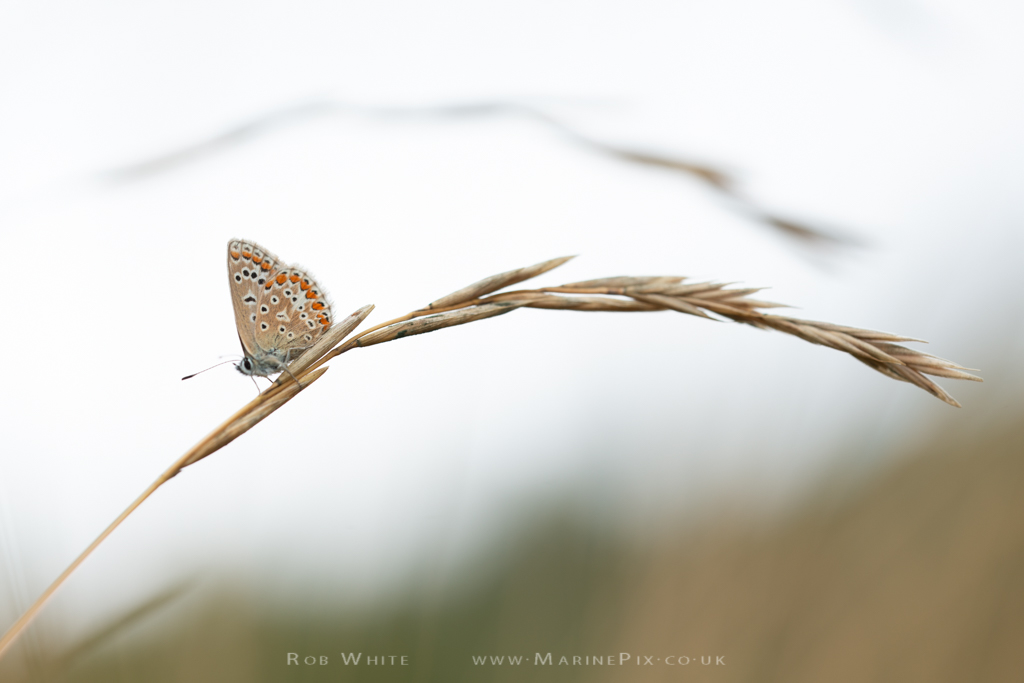
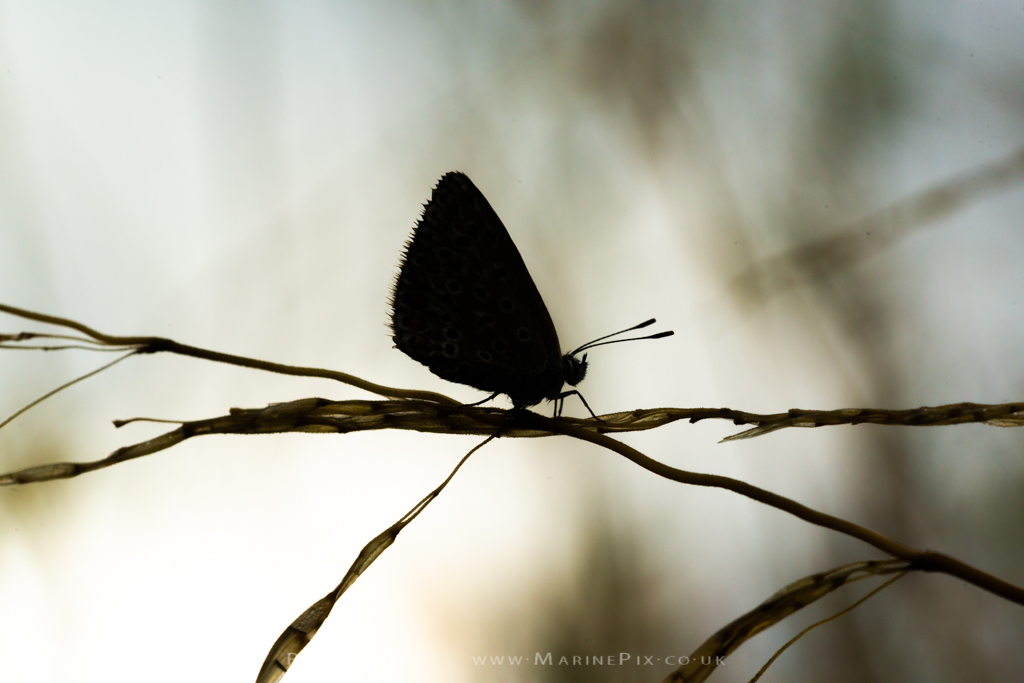
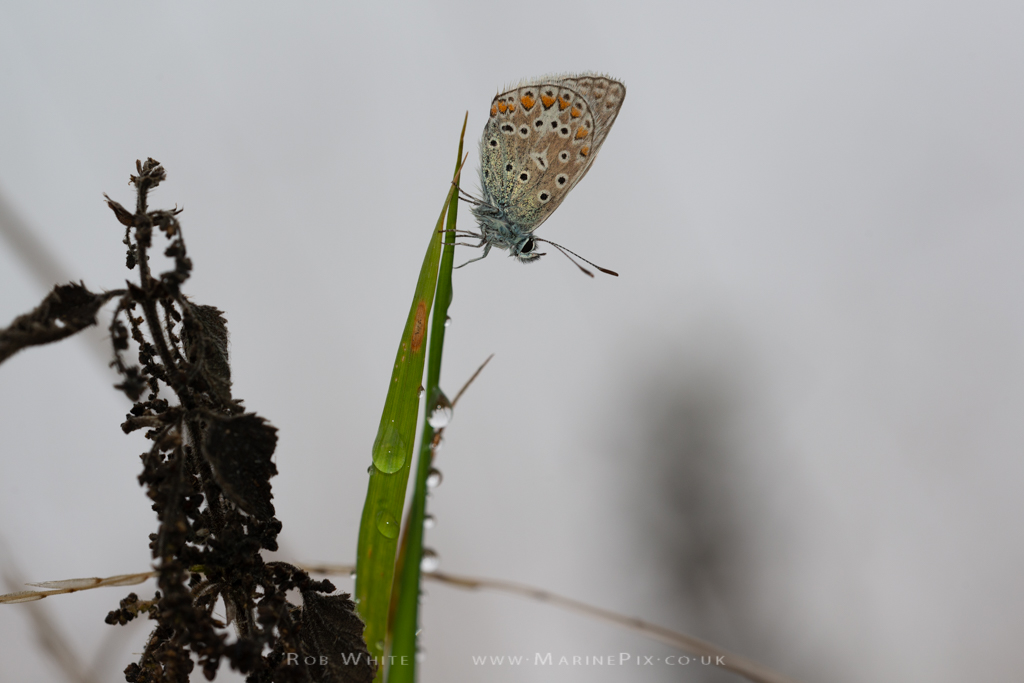
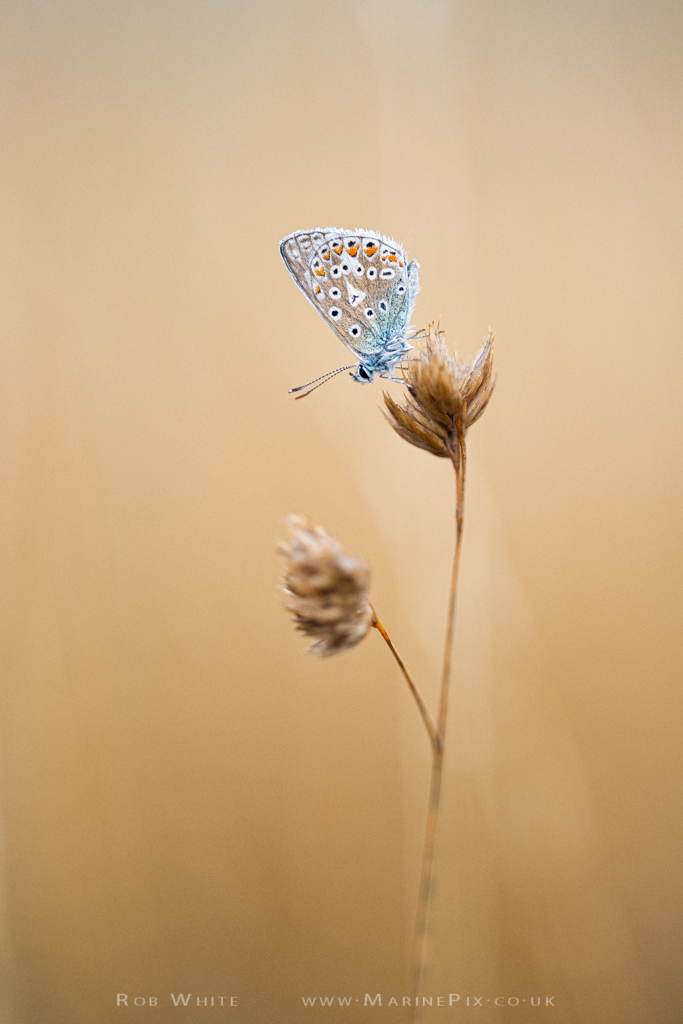
The butterflies were generally to be found holding on to the stems of tall grasses or balancing on the buds at the top.
Subject Selection
Once I’d got a few shots on my memory card, I became a bit more selective; I looked for butterflies in positions where I could separate the creature from it’s background in my photos. It’s good to show some of your subject’s surroundings but if those surroundings compete with the main subject for your viewer’s attention, the impact of the photo is lost.
I found myself crouching, sitting or lying on the ground trying to achieve separation of subject from background. Not wishing to crush the surrounding habitat, I was often sprawled on a path or crouching next to a patch of long grass. It must’ve looked odd to the infrequent passers-by.
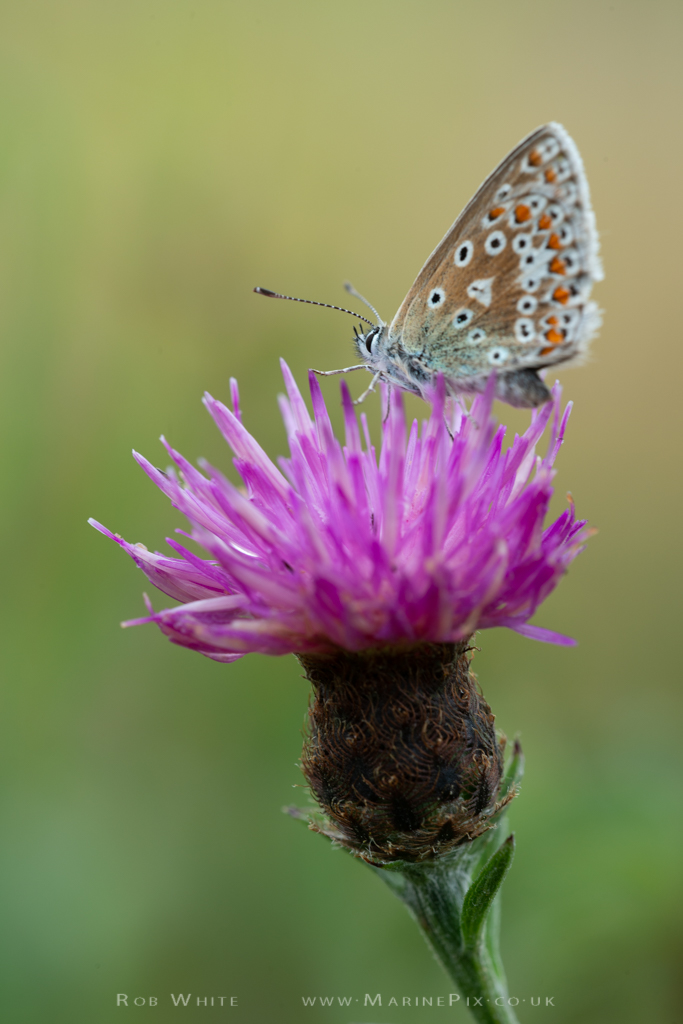
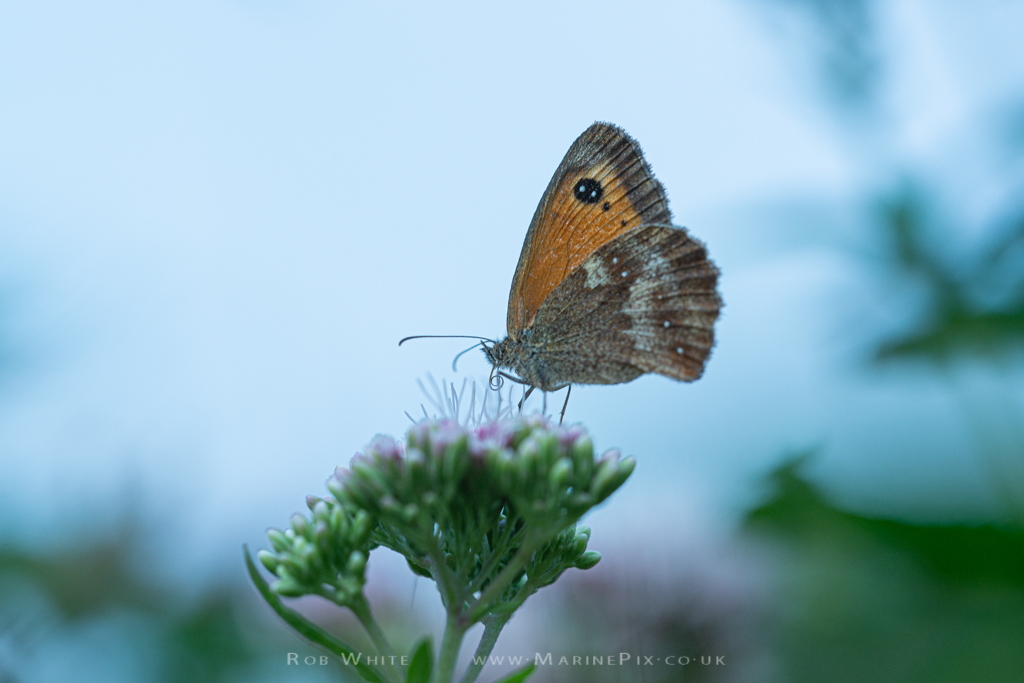
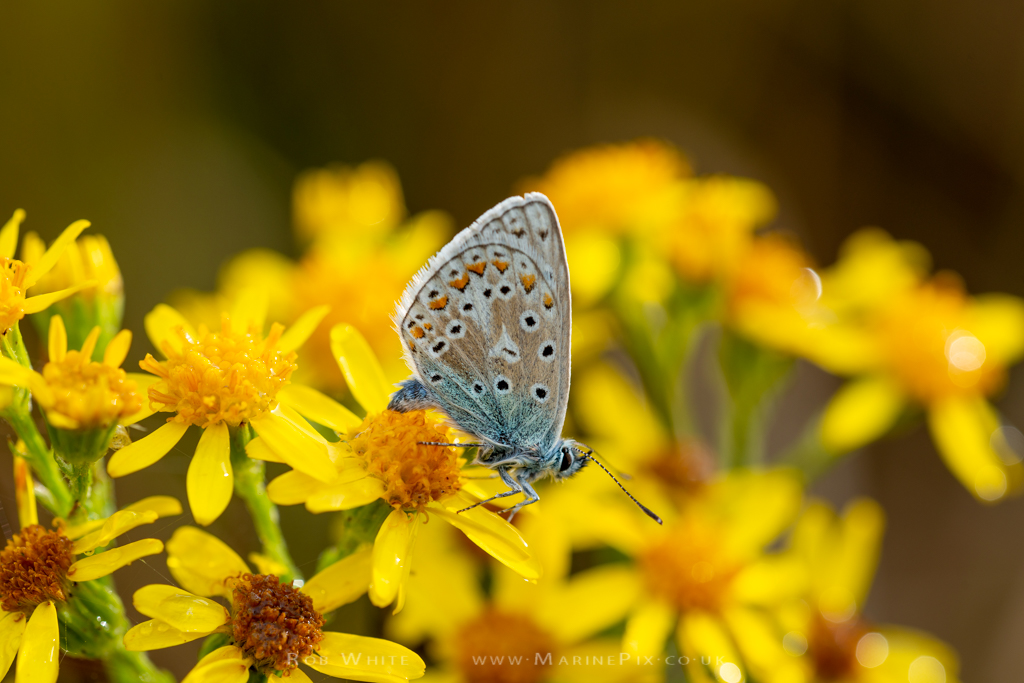
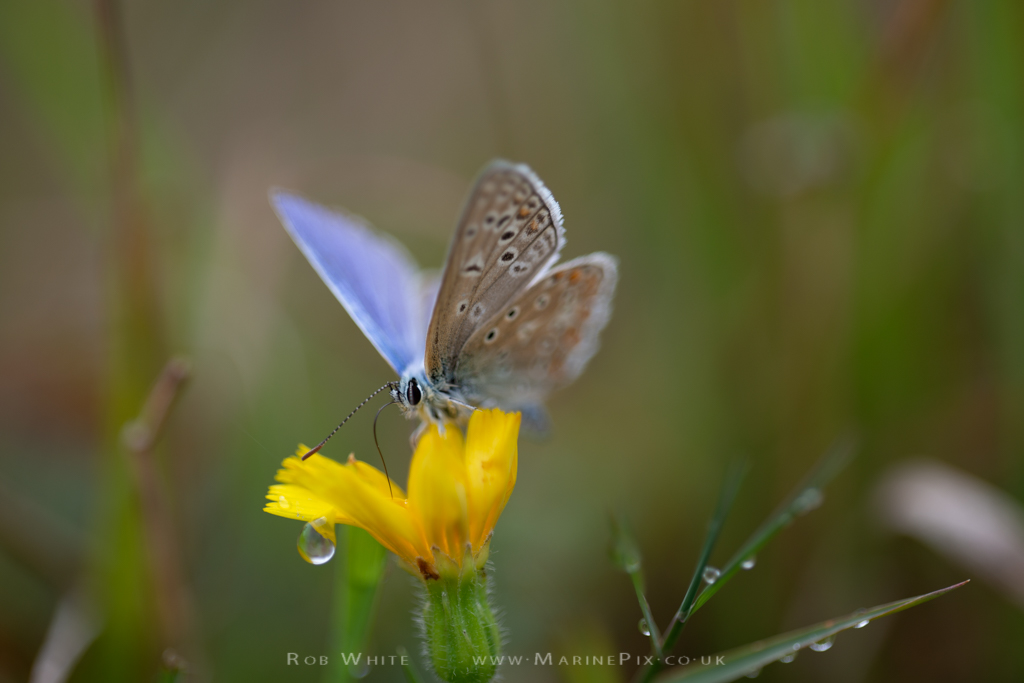
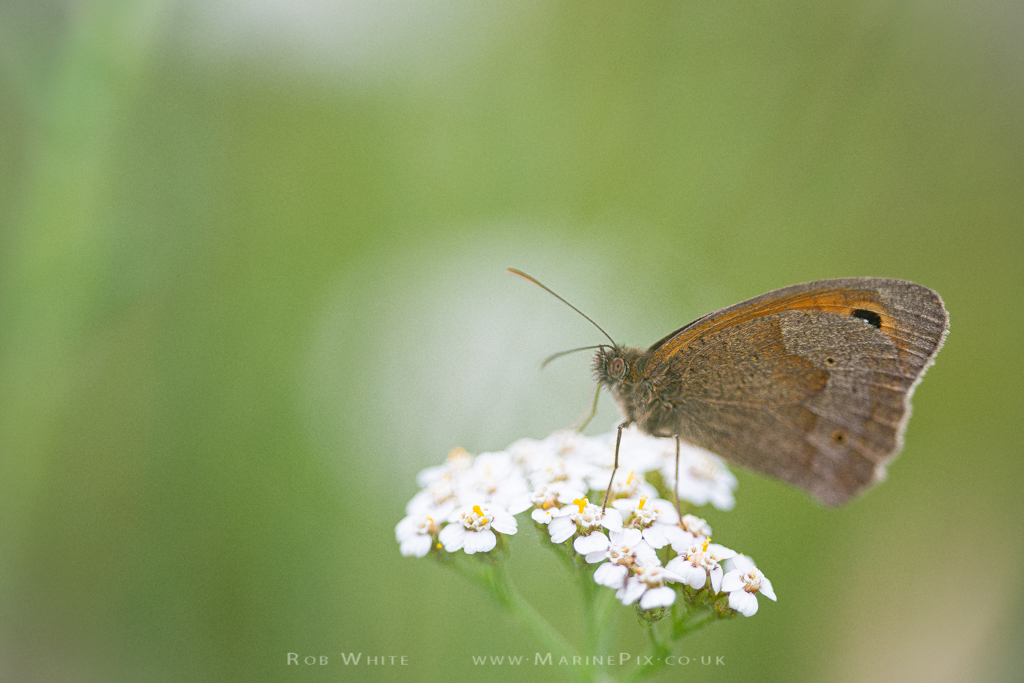
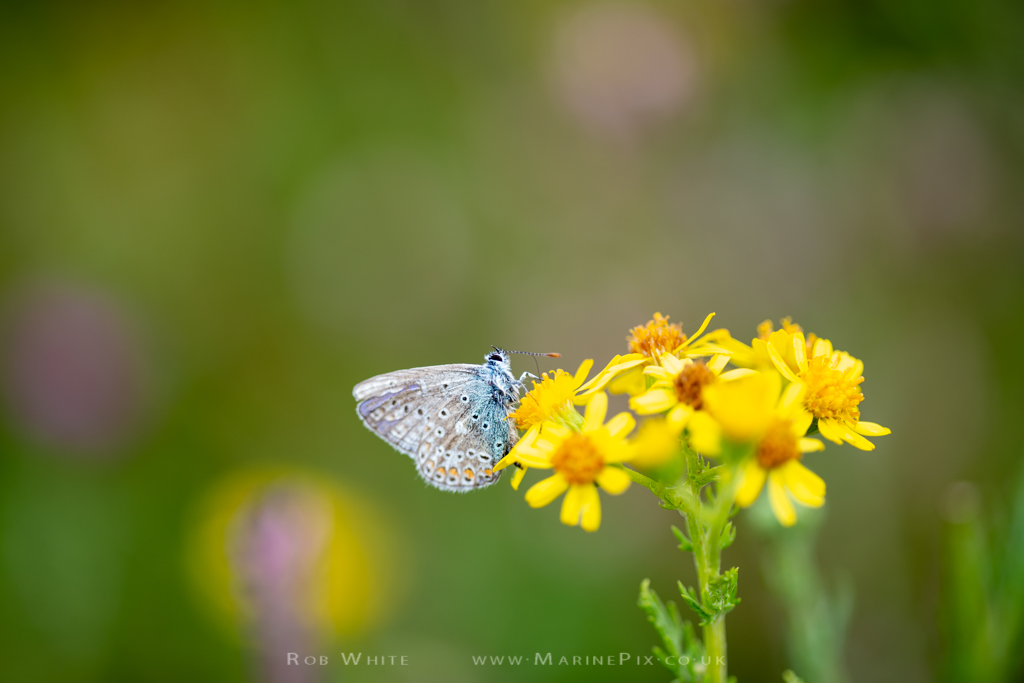
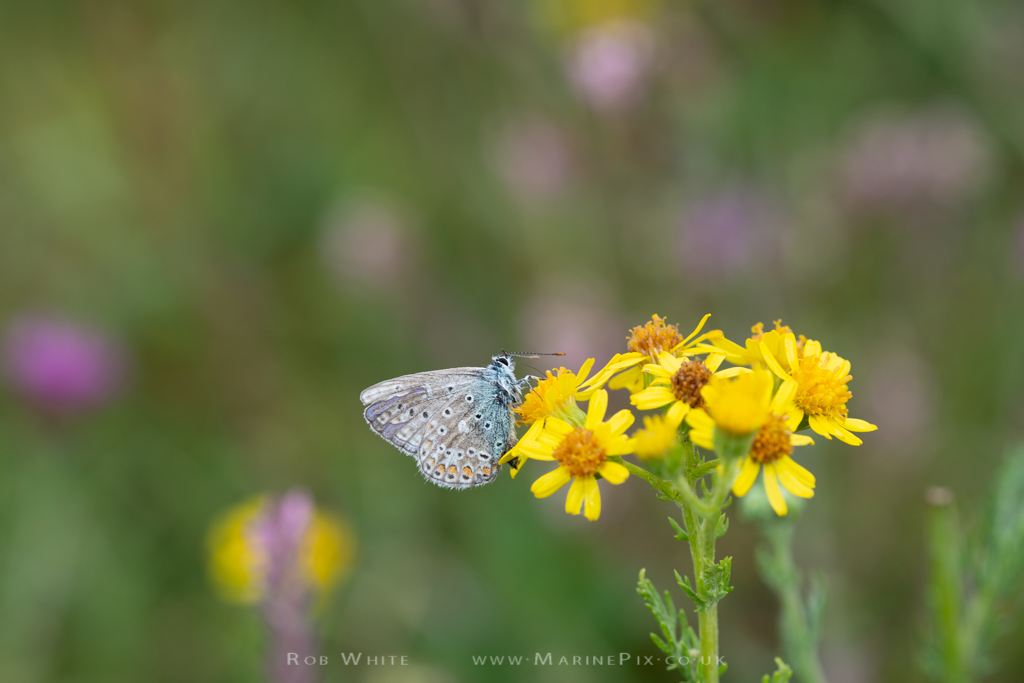
If ever I spotted a butterfly on a coloured flower, I dropped what I was working on. This happened more as the morning passed since the butterflies were warmed up enough to start moving and finding nectar.
A bit of background
I felt a plain background would work best and for the most part, that’s what I tried to achieve. When the opportunity presented itself though, I looked for patches of colour in the background. Using a wide aperture, I could blur the background but that often threw parts of my subject out of focus. Trial and error with different apertures and different distances from my subject was required. Closing the aperture increased the amount of my subject in focus. Opening the aperture created more blur in the background. Moving closer to my subject increased the effect while moving away decreased it.
Settings
People always wonder what the correct settings are. It’s good to have a starting point but “correct settings” will vary depending on many things. Camera make and model, lens, environment, ambient light as well as your personal opinion of what makes a good photo!
If you want to create a blurred background, consider using a wide aperture. Closing the aperture will bring more of the background into focus.
In general, if you want a sharp photo, choose a shutter speed which is faster than the focal length of your lens
Summary
I think I learned more than I’ve written about here just from 3 little excursions but here’s a quick summary.
- Early mornings are the best times to go out.
- Butterflies tend to roost clutching long stems of grass
- They frighten easily so be cautious when approaching
- Choose areas that have not previously been disturbed that day.
- Don’t bother going if it’s windy or raining.
- Use a long lens so you dont have to get too close.
- Use a macro lens if you can so you can fill the frame.
- Don’t use extension tubes unless you know they work with your lens
- Common Blue butterflies really are common!
- Wearing long trousers prevents insects biting
- A tripod could work but there’s not much time to set it up in each case
I’d love to know if you think I’ve covered all the basics. I’m always keen to learn other ways of doing things. I’d love to have some new techniques to try along with what I’ve tried and tested so far.
Thanks for Reading and, as always, your comments are very welcome.