

A discussion on facebook about snoots has prompted me to write this blog entry regarding the fibre-snoot that I made for myself.
For those not aware what a snoot is, it’s a contraption which shapes the light used when taking a photo. To explain further, I’ve created a Gallery which shows how I made the snoot and some of the end results. But I digress…. The purpose of this post is to explain how I created my DIY fibre-snoot for my underwater photography work!
It took some time to start the whole process off. I knew I had to have a bendable tube and some fibre-optic cable of course and a base of some sort but the base was the tricky bit as I didnt want to end up bolting tubes to flat discs – that would be too time consuming and bulky
Eventually, I had a brainwave and realised that a CD spindle (the kind you get if you buy a stack of blank CDs or DVDs) was exactly the right size and shape and it had a ready made hole through which I could poke some fibre-optic cable. It took a few goes to get this (major) component to be the right shape… some of them cracked when I cut into them and on some I got the positioning a little off:- The hole where the cable goes really has to be directly over one of the flash tubes to get the most amount of light.
I tried a few brands of flexible pipe initially but they all tended to be relatively transparent, apart from Loc-Line so that’s what I now use.
Fibre-optic cable isn’t that hard to find on ebay. The issue is really that there’s too much to choose from! I bought a selection so I could experiment… The largest unsheathed cable was 3mm diameter but I soon decided that smaller strands (2mm) would be better as I could fit more of them through the centre of the flexi-tube. I used this configuration for a long time, with electrical tape being used to hold all the strands of cable together before I found a better solution:- some 6mm sheathed fibreoptic cable – I strip the sheathing off first and the bare cable then slides straight in! This produces a much stronger light, plus there’s no need for sticky electrical tape!

I’ve used a short length of old garden hose to attach the Loc-Line to the base. Put the hose in boiling water to soften it first, otherwise it’s very difficult to slide it over the Loc-Line.
Finally, I use a short section of an old wetsuit sleeve to secure the finished snoot to the strobe. The most important thing to remember when attaching your snoot is to line up the hole on the spindle with one of the flash tubes. This should be easy enough to do by touch alone if you’ve shaped the base of your new snoot correctly.
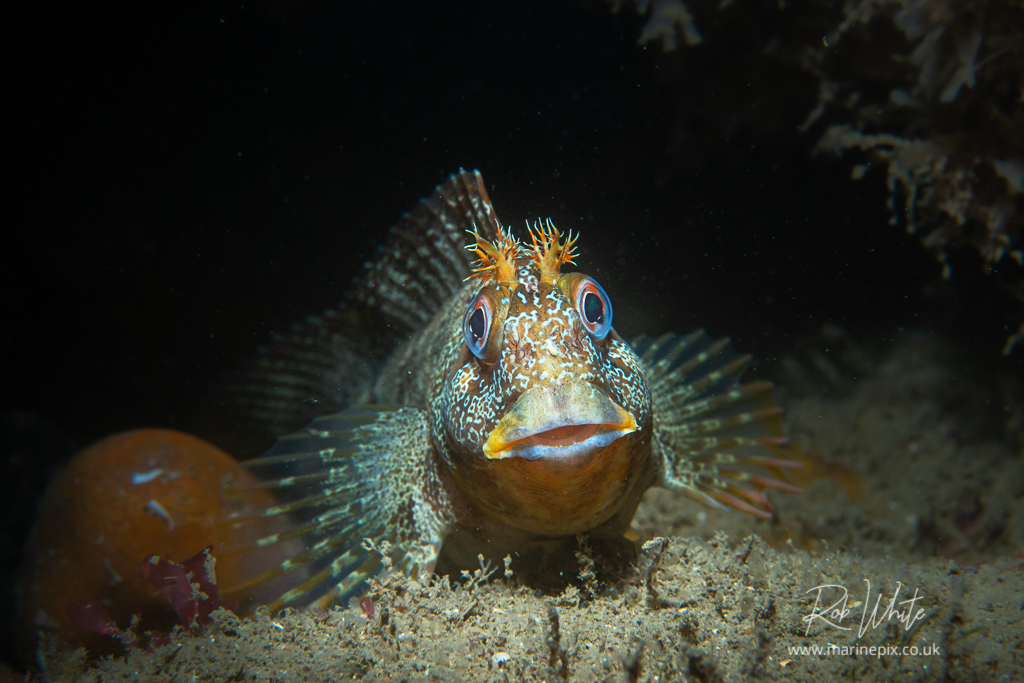
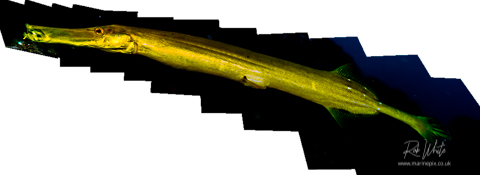
If you’re still interested at this point, I’ve taken some photos showing the steps involved in creating this fibre-snoot. You can see them in the Fibresnoot Gallery Here, along with some example images I’ve taken.
If you’ve got the time and patience or if you’re not yet convinced that snooting is for you, then I’d suggest it’s worth having a go at making your own. To save you time, I can source the component parts and send them to you in exchange for £40 (plus p&p), then you can get straight on and follow the instructions here to make YOUR own snoot! Just drop me an email or message via facebook.