
If you haven’t yet seen it on it’s journey past our planet, now is the time to get to a dark area and take a photograph of Comet Neowise or to give it it’s proper name, Comet C/2020 F3. The comet was at it’s brightest a few days ago as it reached it’s closest approach to the sun but there’s still chance to see it.
Lucky for us residents of planet Earth, the comet is not due to impact anywhere and instead we can witness it’s fly-by from a very safe 64 million miles away.
How to spot Comet Neowise
The position of comet neowise in the night sky will change with each passing day. In early July, the comet could be seen low down towards the north but tonight, the 22nd, you’ll need to look north-west instead.
The easier way to locate the comet is by finding the familiar constellation of Ursa Major. Also known as the Plough, the Great Bear, the Big Dipper and the Saucepan. Once you’ve located Ursa Major, the comet can be found roughly halfway between the lowest star () and the horizon.
We are blessed with a good deal of cloud cover in the UK. Fortunately, the skies have been mostly clear over the past month so viewing the night sky has been rather straightforward. Any time from about 11pm onwards, the comet has been visible. The sky is as dark as it will get at around 12:30am so it’s worth being patient.
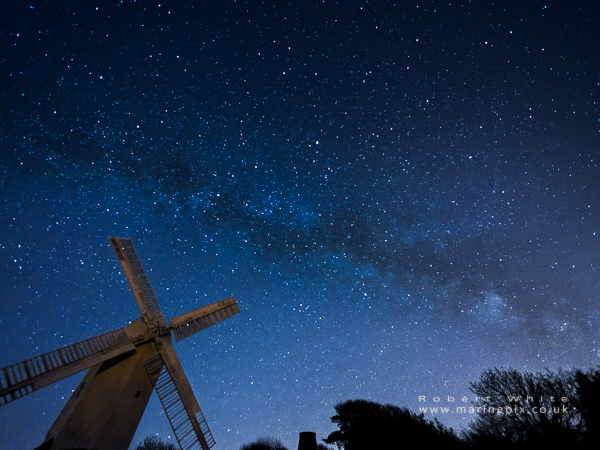
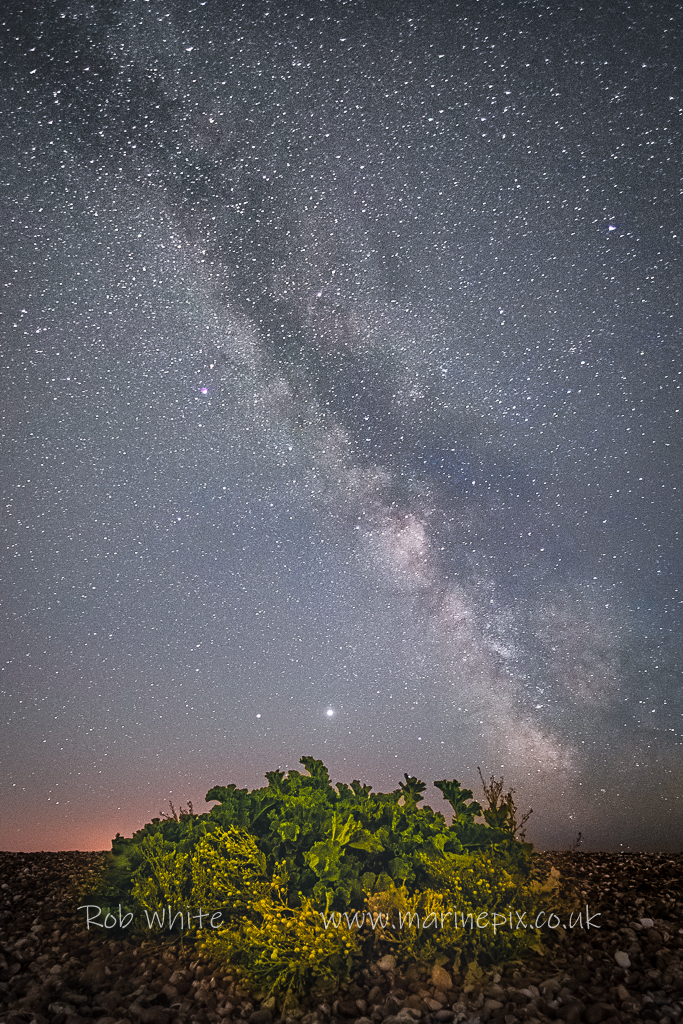
While you wait for the comet to appear, you can turn to face south and grab photos of the Milkyway. The central part (“core”) of which is above the horizon at the moment for the majority of the dark hours.
Photograph the Milky Way while you wait.
I’ve spent a few hours on the beach recently on several occasions. I’ve already posted one image in a previous blog post from my first outing. Recently, I’ve been helping some very nice people align their shots and get their camera settings sorted to get the best photos but I have managed to grab a couple of shots for myself in the process.
But these are incidental shots which you can grab while you’re waiting. The main action, is in the north.
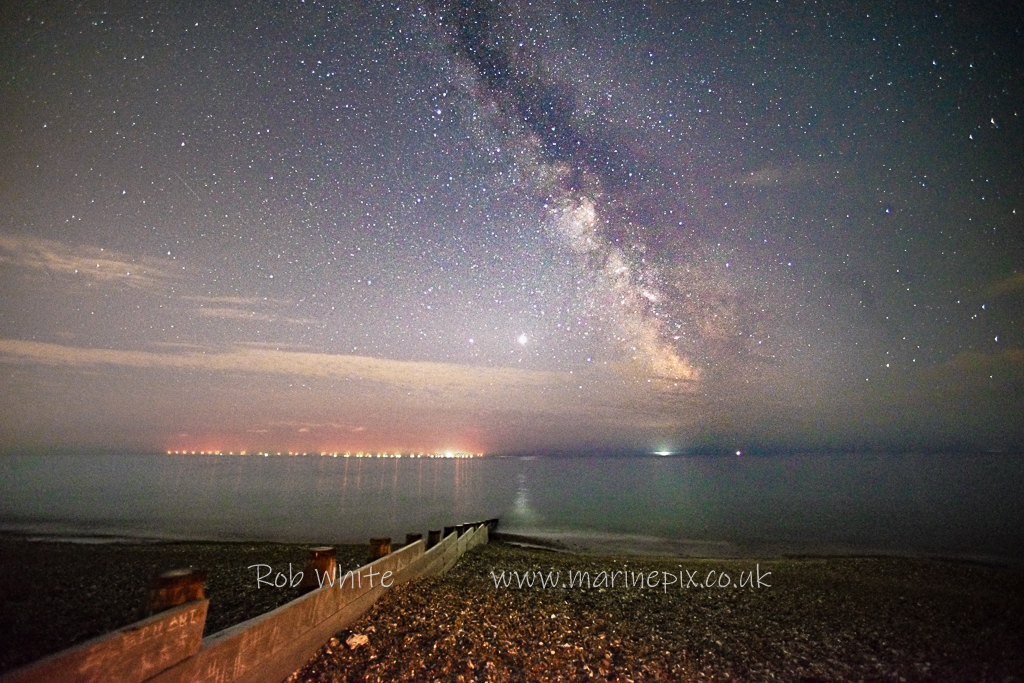
I changed my lens, this time to use a 16-35mm on my Nikon D800. I used an exposure time of 30 seconds. You can get away with longer exposure times if you’re pointing towards the poles. I then selected the widest aperture my lens would allow.
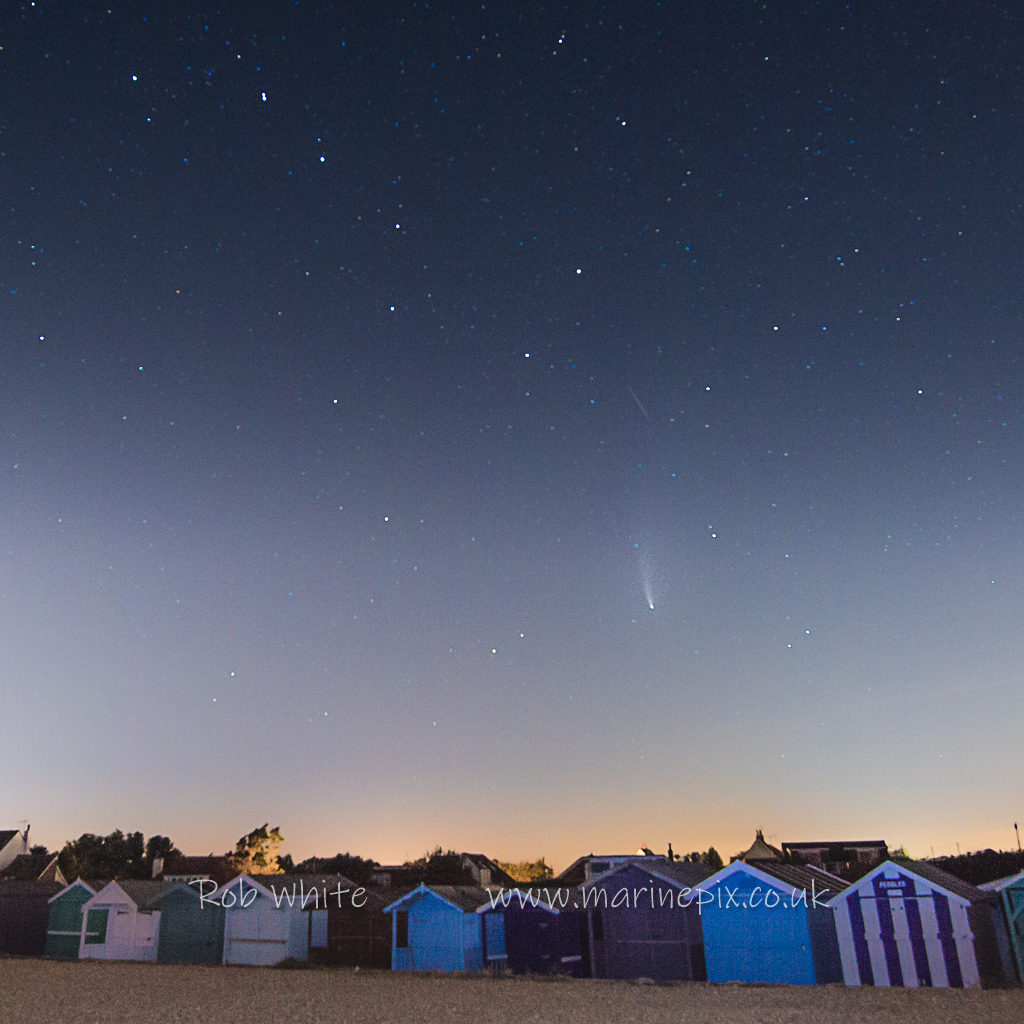
Choosing what to include in your photo
I’ve made use of the beach huts in the foreground to add a little sense of location. I find these images a bit more interesting than sky-only shots.
All my photos were taken from the South coast of the UK between 11pm and 1am. The position of the comet is changing each evening but should be visible for a few weeks to come.
If you get the chance, go out and take a look! You’ll need to be in a dark place (I can recommend the beach). If you decide to take photos, try to get something interesting in the foreground and take something warm to wear.