
As I was standing on the beach yesterday, I was already planning a return trip in the evening.
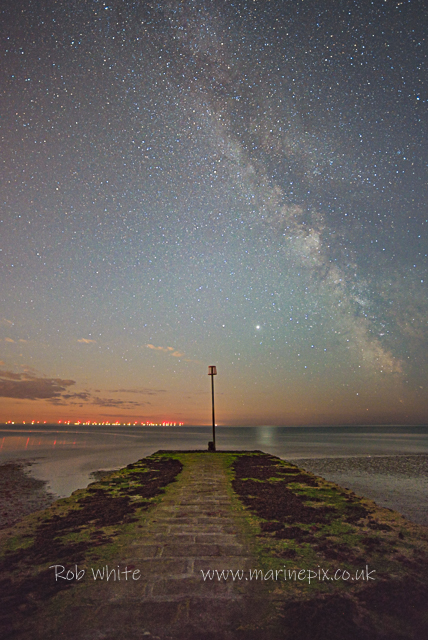
The local beach is really quite dark at night. A single security light on the beach cafe shines out whenever someone goes close but it goes off again within a couple of minutes.
A 15 second exposure while this accidental beacon is on means the marker-pole on the end of the groyne sticks out like a sore thumb so the picture needs retaking. Either that or some attention in post-production to make it acceptable.
In this instance, repeating the shot was straightforward once the light had gone out. I never did establish what was causing the light to come on when it did but I assume it was either people or foxes.
Taking the Shot
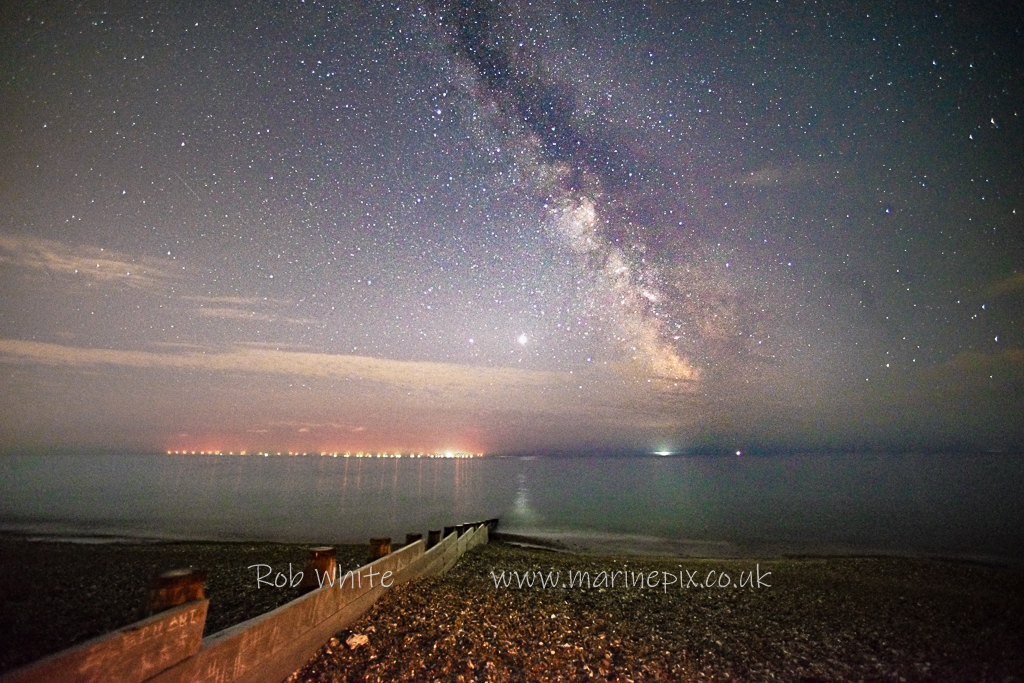
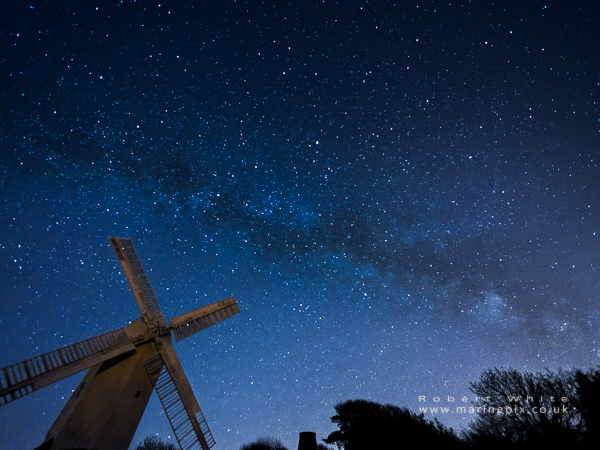
The shot I’ve posted here is actually 4 images combined together. Each 15 second image was taken consecutively at f/2.8 using my 14mm prime lens. The lens does have some serious vignetting (darkening around the edges) but it’s still nice and sharp once it’s in focus.
Each shot varies slightly so combining them is not straightforward. The process involves hiding the static parts of each image (eg the groyne) and then aligning the remaining areas.
Photoshop has a tool for this although it is possible to do by hand if you have the patience. Once the aligned areas are blended, the original hidden areas can be re-introduced to create the whole scene once again.
To Blend or Not?
The whole point of this multiple-exposure, blending technique is to reduce the amount of digital noise in the final image. This sort of quality is not desperately important for social media but I like my images to be wall-art quality once I’ve finished. The results are only appreciable when viewing the printed image up-close.
What’s that Noise?
Noise is unwanted data, caused by random electrical signals, detected by the camera’s sensor. It manifests as specs of light or colour in the final image where there was none in the original scene.
The higher you crank up the ISO setting, the more sensitive to light the camera’s sensor becomes but it also becomes more sensitive to these random electrical signals. In other words higher ISOs = more noise.
Noise-removal software is available but it often removes details from a night-sky photograph which we would rather keep. A better plan is to keep the noise as low as possible in the original images.
Each of my original images has some degree of noise but the blending process I use has the added advantage of removing most of the random data whilst retaining the “true” data.
Other Shots
If you want to see some of the other astro-photos I’ve taken, check out my “night-time” gallery https://www.marinepix.co.uk/galleries/night/
If you’d like to read my in-depth guide to astro photography, follow this link https://www.marinepix.co.uk/astro.php
And of course, you can find other astro-photography blog posts by clicking on the category list on the right.
Related Posts
2 Comments
Comments are closed.

Amazing shots Rob you must spend a lot of time perfecting this,
Thanks Rob. It’s taken a bit of practice, that’s for sure!
Despite the need to stand out in the dark on the coldest of nights, it’s actually a really relaxing thing to do. I can recommend it!